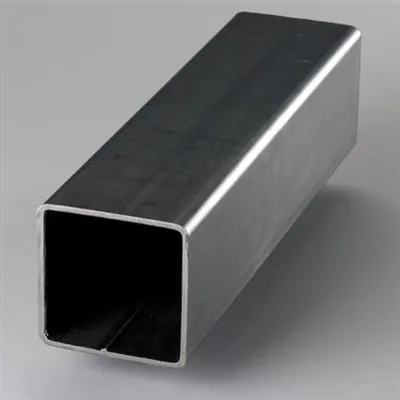
When it comes to installing pitched roof PV brackets on a slate - like composite roof, finding the best method is crucial for both the efficiency of the installation process and the long - term performance of the photovoltaic (PV) system. As a pitched roof PV brackets supplier, I've had extensive experience in this area, and I'm here to share some insights.
Understanding the Slate - like Composite Roof
Before diving into the installation methods, it's important to understand the characteristics of a slate - like composite roof. These roofs are designed to mimic the appearance of natural slate while offering better durability and lower cost. They are typically made of a combination of materials such as fiberglass, asphalt, and stone granules. The surface can be quite brittle in some cases, and it has a specific texture and slope that need to be considered during PV bracket installation.
Importance of Proper Installation
Proper installation of pitched roof PV brackets on a slate - like composite roof is not just about getting the panels up on the roof. It's about ensuring that the brackets are securely attached, minimizing the risk of roof damage, and maximizing the energy output of the PV system. A poorly installed bracket can lead to water leaks, roof deterioration, and reduced panel performance over time.
Best Installation Methods
Step 1: Roof Inspection
The first step in any PV bracket installation is a thorough roof inspection. This involves checking the condition of the slate - like composite roof, including looking for signs of damage, wear, or loose tiles. It's also important to measure the roof slope accurately, as this will affect the type of brackets and the installation angle. If there are any issues with the roof, they should be addressed before proceeding with the PV bracket installation.
Step 2: Bracket Selection
Selecting the right type of brackets is essential. For a slate - like composite roof, we recommend using Photovoltaic Panel Bracket. These brackets are designed to be compatible with various roof types, including slate - like composites. They are made of high - quality materials that can withstand the elements and provide a stable foundation for the PV panels.
Another option is Angled Solar Panel Mounts. These mounts allow for adjustable angles, which can be beneficial for optimizing the solar panel's exposure to sunlight based on the roof slope and geographical location.
Solar Mounting L - Bracket is also a popular choice. It provides a strong and reliable connection between the roof and the PV panels, and it can be easily installed on a slate - like composite roof.
Step 3: Marking the Installation Points
Once the brackets are selected, the next step is to mark the installation points on the roof. This should be done carefully, following the manufacturer's instructions and ensuring that the brackets are evenly spaced and aligned. It's important to use a level and a measuring tape to ensure accuracy. When marking the points, avoid areas with visible damage or weak spots on the roof.
Step 4: Drilling Holes
Drilling holes in a slate - like composite roof requires special care. Use a drill bit that is appropriate for the roof material. A carbide - tipped drill bit is often recommended as it can cut through the hard surface of the composite roof without causing excessive damage. When drilling, apply gentle pressure and use a slow speed to prevent the roof from cracking. After drilling each hole, clean out any debris to ensure a proper fit for the bracket fasteners.
Step 5: Mounting the Brackets
After the holes are drilled, it's time to mount the brackets. Insert the fasteners through the holes in the brackets and into the roof. Make sure the brackets are firmly attached and level. Tighten the fasteners gradually to avoid over - tightening, which could damage the roof or the brackets. Once the brackets are in place, double - check their alignment and stability.

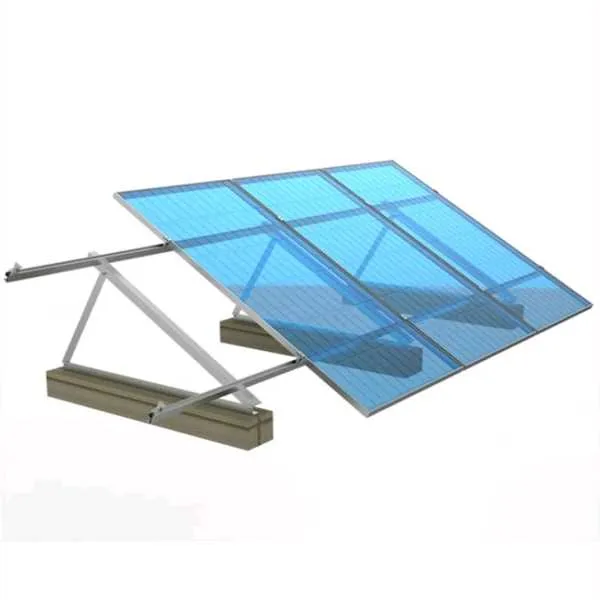
Step 6: Installing the PV Panels
Once the brackets are securely mounted, the PV panels can be installed. Carefully place the panels on the brackets and use the appropriate hardware to attach them. Make sure the panels are properly aligned and connected according to the electrical wiring diagram. It's important to follow all safety procedures during this step, including wearing appropriate protective gear.
Tips for a Successful Installation
- Work with a Professional: If you're not experienced in PV bracket installation, it's highly recommended to work with a professional installer. They have the knowledge and skills to ensure a safe and proper installation.
- Use Sealants: To prevent water leaks, apply a high - quality sealant around the bracket fasteners and any penetrations in the roof. This will help protect the roof from moisture damage.
- Follow Local Codes and Regulations: Make sure to comply with all local building codes and regulations regarding PV system installation. This includes obtaining the necessary permits and ensuring that the installation meets safety standards.
Conclusion
Installing pitched roof PV brackets on a slate - like composite roof requires careful planning, the right tools, and the appropriate brackets. By following the steps outlined above and using high - quality products like Photovoltaic Panel Bracket, Angled Solar Panel Mounts, and Solar Mounting L - Bracket, you can ensure a successful installation that will provide long - term benefits.
If you're interested in purchasing high - quality pitched roof PV brackets for your slate - like composite roof project, we invite you to contact us for a detailed discussion. Our team of experts is ready to assist you in selecting the right products and providing you with all the necessary support for a smooth installation process.
References
- "Solar Photovoltaic Systems Installation Guide" - National Renewable Energy Laboratory
- "Roofing Materials Handbook" - The Roofing Industry Alliance for Progress